Guide to 3D photography
In this guide you will learn how to take a set of photos so that these can be converted into an interactive 3D photo.
The following requirements are recommendations. If you do not manage to meet all of them, it is still possible to achieve good results.
You can download this guide as a PDF file.
1. Prepare your camera
- You can use any kind of digital camera (compact, SLR, or your cell phone camera).
- Adjust all your camera settings in manual mode: aperture, shutter speed, sensitivity (ISO) and white balance.
- You can use automatic or manual focus.
- If your camera does not allow you to set the aperture and shutter speed manually, then use auto exposure lock (AE-Lock). See your camera user’s guide for more details.
- Use the maximum image resolution and quality.
2. Take a row of photos
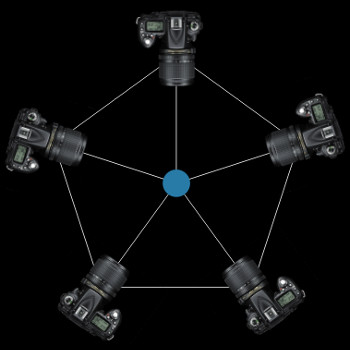
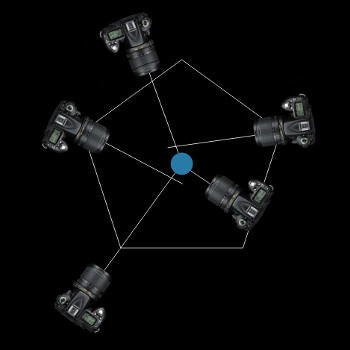
- Take a row of photos by walking around an object.
- Keep your camera at the same height and tilt. You can use a tripod or another object as a reference.
- Keep the same distance between the object and your camera.
- Point your camera at the same spot on the object.
- Try to walk the same distance between each photo.